Table of Contents

[vc_row _et_uniqid="et_custom_uniqid_new_617bafae332e0" el_id="growkitins"][vc_column][vc_column_text]
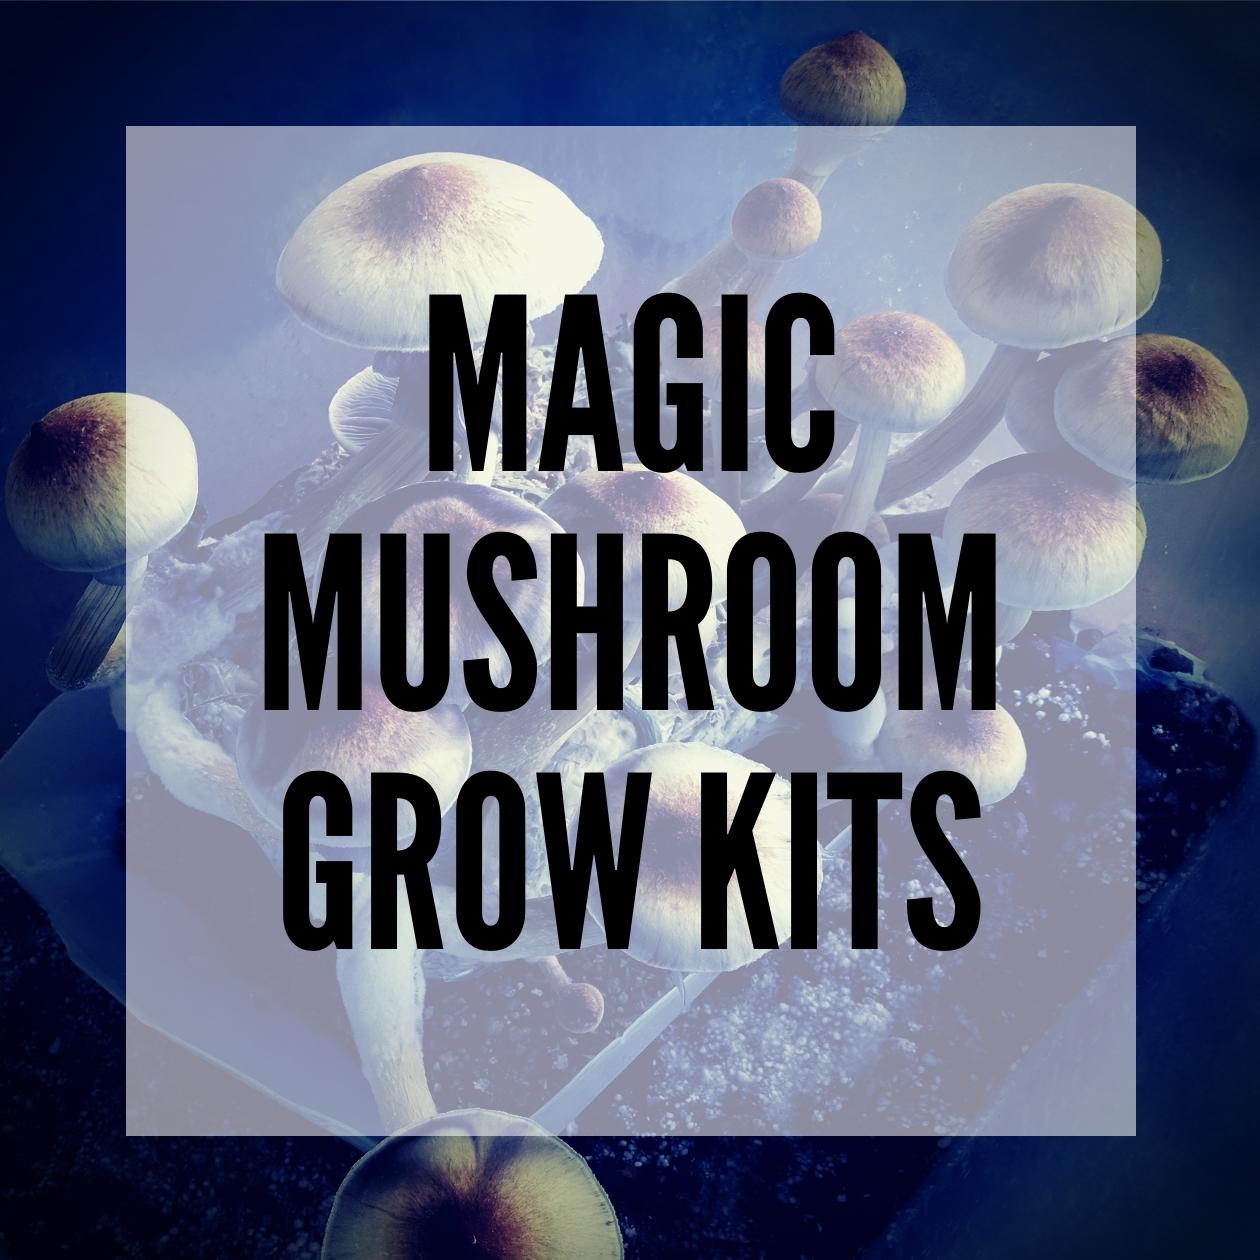
Magic Mushroom Grow Kit Instructions
[/vc_column_text][vc_row_inner content_placement="middle" _et_uniqid="et_custom_uniqid_new_617bacfe41126" css=".vc_custom_1635495179484{background-color: #f2f2f2 !important;border-radius: 15px !important;}"][vc_column_inner width="1/4" offset="vc_col-xs-1/5" _et_uniqid="et_custom_uniqid_new_60632bb7c7760"][vc_single_image image="20596" img_size="full"][/vc_column_inner][vc_column_inner width="3/4" offset="vc_col-xs-4/5" _et_uniqid="et_custom_uniqid_new_60632c41dd46e"][vc_column_text]Step 1
Wash your hands thoroughly and clean the outside of the grow kit with a dry cloth. Remove the lid and save it for step 2.[/vc_column_text][/vc_column_inner][/vc_row_inner][vc_row_inner content_placement="middle" _et_uniqid="et_custom_uniqid_new_617bad27b635d"][vc_column_inner width="1/4" offset="vc_col-xs-1/5" _et_uniqid="et_custom_uniqid_new_60632cd657c83"][vc_single_image image="20599" img_size="full"][/vc_column_inner][vc_column_inner width="3/4" offset="vc_col-xs-4/5" _et_uniqid="et_custom_uniqid_new_60632cded4064"][vc_column_text]Step 2
Fill the grow kit to the edge with lukewarm water (20°C), put the lid back on the grow kit and let it soak for 5 minutes.*
*Important: never soak the grow kit for more than 1 hour.[/vc_column_text][/vc_column_inner][/vc_row_inner][vc_row_inner content_placement="middle" el_class="firstStep" _et_uniqid="et_custom_uniqid_new_617bad51ad2d0" css=".vc_custom_1635495251364{background-color: #f2f2f2 !important;border-radius: 15px !important;}"][vc_column_inner width="1/4" offset="vc_col-xs-1/5" _et_uniqid="et_custom_uniqid_new_60632c688316d"][vc_single_image image="20598" img_size="full"][/vc_column_inner][vc_column_inner width="3/4" offset="vc_col-xs-4/5" _et_uniqid="et_custom_uniqid_new_60632c5fcfe84"][vc_column_text]Step 3
Remove the lid from the grow kit and drain the water well. Let the grow kit drain for 10 seconds.[/vc_column_text][/vc_column_inner][/vc_row_inner][vc_row_inner content_placement="middle" el_class="firstStep" _et_uniqid="et_custom_uniqid_new_617bad57d3eab"][vc_column_inner width="1/4" offset="vc_col-xs-1/5" _et_uniqid="et_custom_uniqid_new_60632c756a689"][vc_single_image image="20601" img_size="full"][/vc_column_inner][vc_column_inner width="3/4" offset="vc_col-xs-4/5" _et_uniqid="et_custom_uniqid_new_60632c7cec235"][vc_column_text]Step 4
Place the grow kit in the grow bag and fill the grow bag with a cup (200-250ml) of lukewarm water (20°C). Then fold the top of the bag and close it with 2 paperclips.[/vc_column_text][/vc_column_inner][/vc_row_inner][vc_row_inner content_placement="middle" _et_uniqid="et_custom_uniqid_new_617bad5e0e3b9" css=".vc_custom_1635495264100{background-color: #f2f2f2 !important;border-radius: 15px !important;}"][vc_column_inner width="1/4" offset="vc_col-xs-1/5" _et_uniqid="et_custom_uniqid_new_60632c8b851f5"][vc_single_image image="20602" img_size="full"][/vc_column_inner][vc_column_inner width="3/4" offset="vc_col-xs-4/5" _et_uniqid="et_custom_uniqid_new_60632c8481ac7"][vc_column_text]Step 5
Place the grow kit in a place with 20-25°C average room-temperature. Make sure that the grow kit is not in direct sunlight, not under a lamp and not near a radiator/heat source.*
*Important: the bag must remain closed until the first pinheads form. Until then, the CO2 content and humidity inside the bag should be as high as possible.[/vc_column_text][/vc_column_inner][/vc_row_inner][vc_row_inner el_class="firstStep" _et_uniqid="et_custom_uniqid_new_617bad622e513"][vc_column_inner width="1/4" offset="vc_col-xs-1/5" _et_uniqid="et_custom_uniqid_new_60632c9a0b4bf"][vc_single_image image="20603" img_size="full"][/vc_column_inner][vc_column_inner width="3/4" offset="vc_col-xs-4/5" _et_uniqid="et_custom_uniqid_new_60632c931e065"][vc_column_text]Step 6
When the first pinheads* are visible, let some fresh air into the grow bag on a daily basis (for a few minutes) and then moisten the grow kit with a misting bottle.
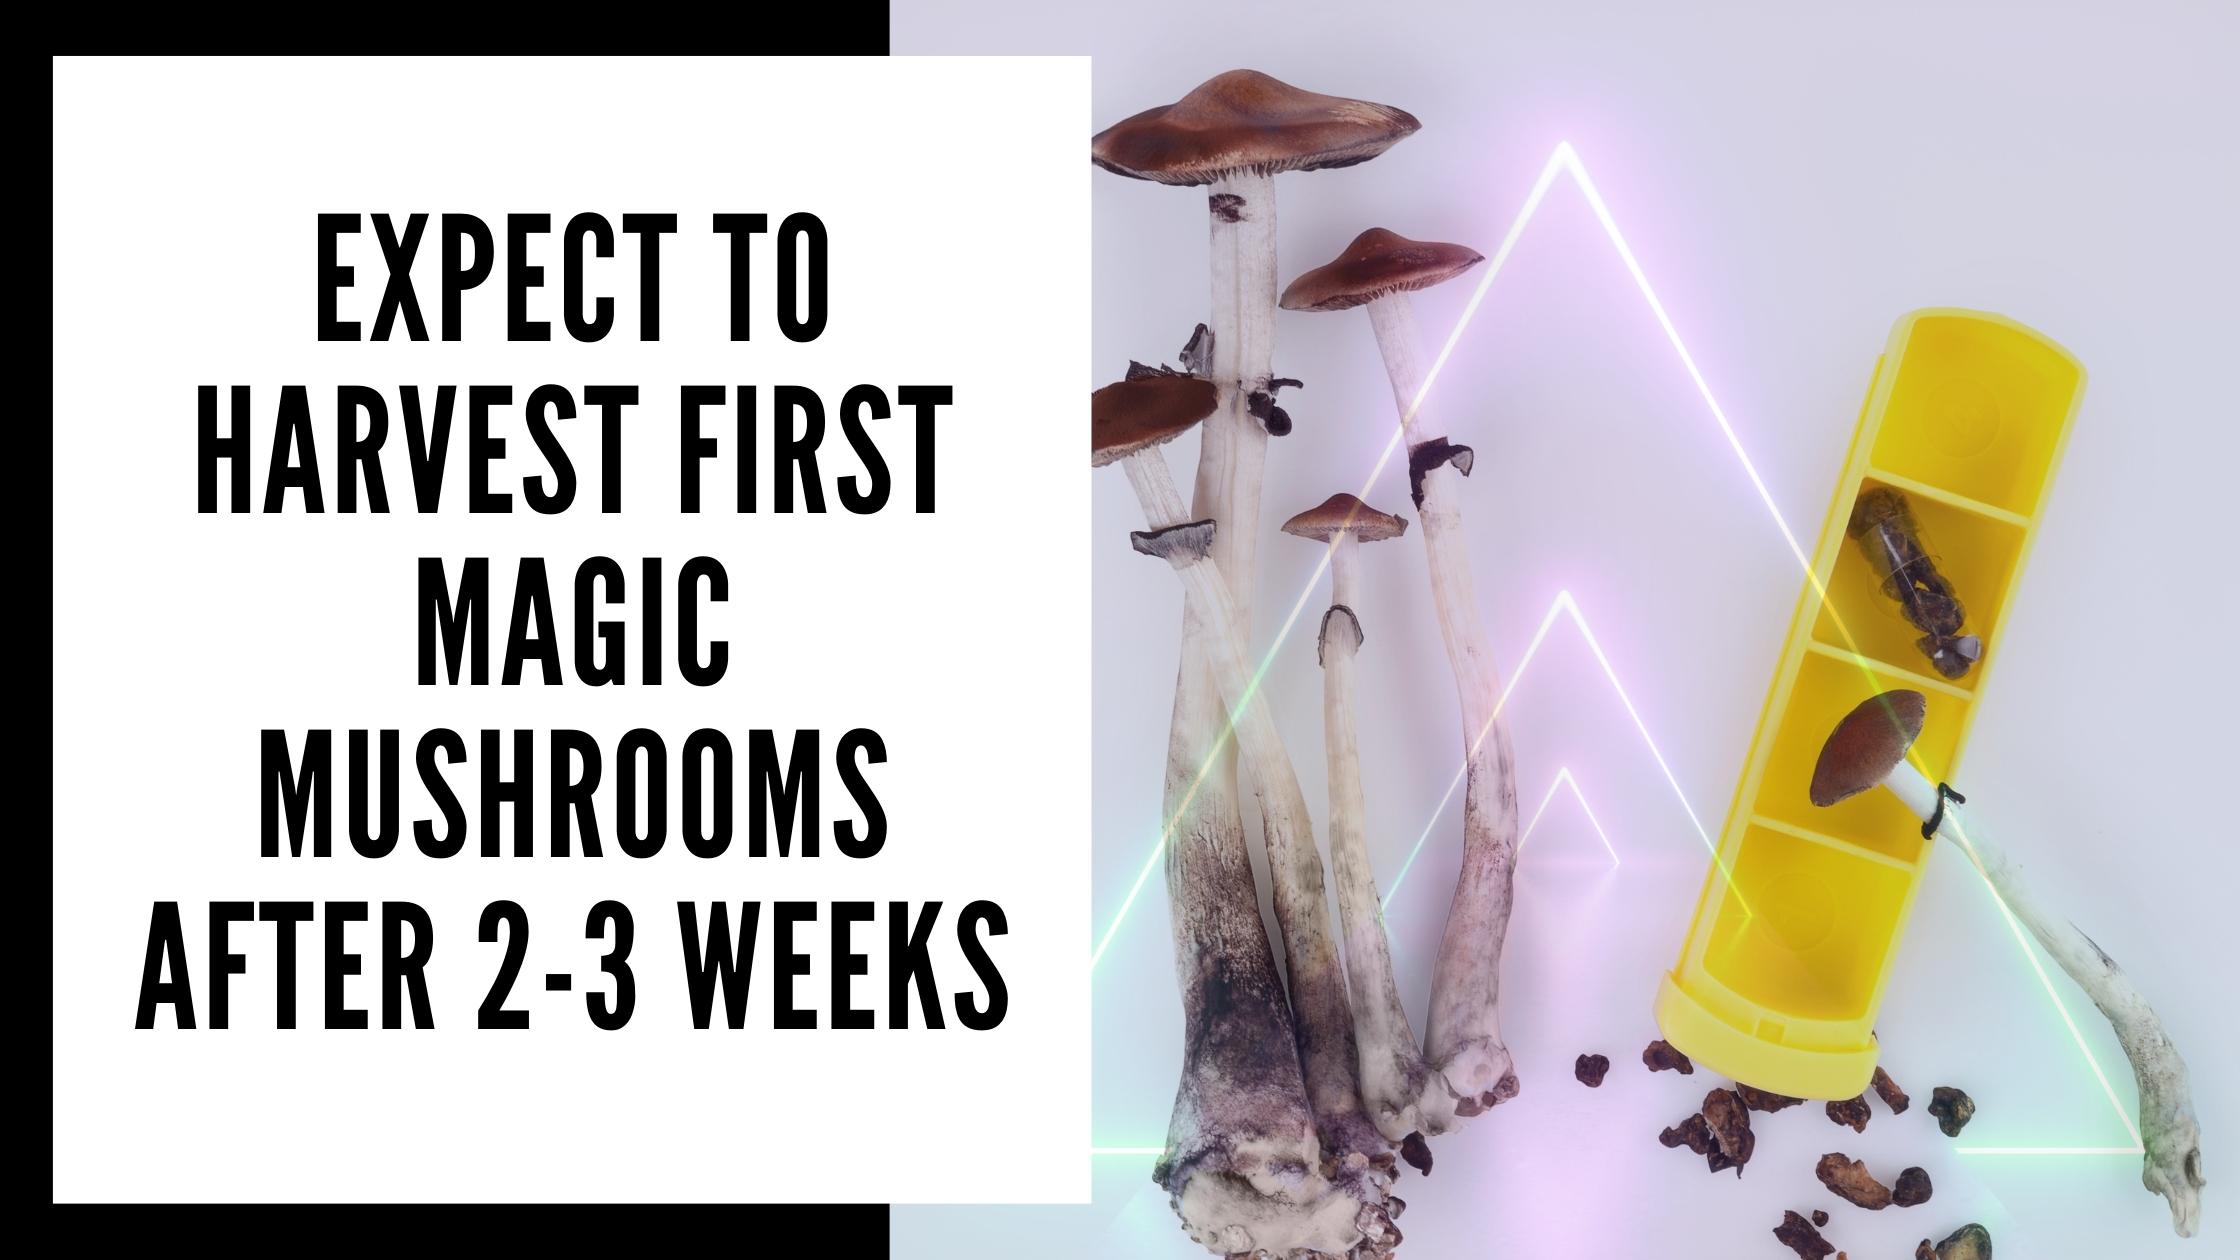
*Pinheads are the first visible forms of tiny mushroom caps. It can take 10 to 20 days for the first pinheads to be visible.[/vc_column_text][/vc_column_inner][/vc_row_inner][vc_row_inner el_class="firstStep" _et_uniqid="et_custom_uniqid_new_617bad65e60c2" css=".vc_custom_1635495271919{background-color: #f2f2f2 !important;border-radius: 15px !important;}"][vc_column_inner width="1/4" offset="vc_col-xs-1/5" _et_uniqid="et_custom_uniqid_new_60632cac88a72"][vc_single_image image="20604" img_size="full"][/vc_column_inner][vc_column_inner width="3/4" offset="vc_col-xs-4/5" _et_uniqid="et_custom_uniqid_new_60632ca2b8b33"][vc_column_text]Step 7
The mushrooms can be harvested just before the membranes on the bottom of the cap open up. While harvesting gently grasp the stem and turn it left/right. When the mushroom becomes loose, pull it out as carefully as possible.*
*Important: the mushroom must be completely removed so that there is room for a new one.[/vc_column_text][/vc_column_inner][/vc_row_inner][vc_row_inner el_class="firstStep" _et_uniqid="et_custom_uniqid_new_617bad6b5386c"][vc_column_inner width="1/4" offset="vc_col-xs-1/5" _et_uniqid="et_custom_uniqid_new_60632cac88a72"][vc_single_image image="20605" img_size="full"][/vc_column_inner][vc_column_inner width="3/4" offset="vc_col-xs-4/5" _et_uniqid="et_custom_uniqid_new_60632ca2b8b33"][vc_column_text] Step 8
Congratulations, the harvest is complete. It is now possible to grow a new flush of mushrooms by repeating steps 4 to 7 again.[/vc_column_text][/vc_column_inner][/vc_row_inner][/vc_column][/vc_row]


What to do if mushrooms don’t grow?


2 comments on “Magic mushroom growing kit – everything you need to know about grow kits”
Pingback:
Ecuadorian (Psilocybe Equaescens) Magic Mushrooms - Smartific .comPingback:
Thai (Psilocybe Cubensis) Magic Mushrooms - Smartific .com